Machine embroidery is a fascinating and intricate craft that blends artistry with technology to embellish fabric with patterns, logos, and designs. This process is not only a cornerstone in the world of fashion and design but also plays a significant role in various industries including corporate branding, personalized gifts, and home decor. In this comprehensive guide, we’ll delve into the machine embroidery process, accompanied by images to illustrate each step.
Step 1: Design Selection and Digitization
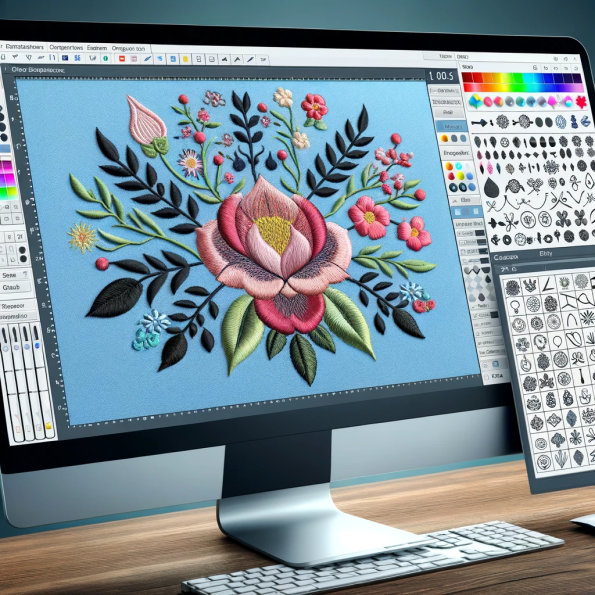
The journey of machine embroidery begins with the selection of a design. This design can be anything from a simple monogram to a complex piece of artwork. Once the design is selected, it is digitized using specialized software. Digitization involves converting the artwork into a format that an embroidery machine can understand and execute. This step is crucial as it determines how well the design will be replicated on the fabric.
Step 2: Choosing the Right Fabric and Stabilizer
The choice of fabric is pivotal in the embroidery process. Different fabrics require different approaches; for instance, a denser fabric might support intricate designs better than a lighter one. Alongside the fabric, a stabilizer is also chosen. The stabilizer supports the fabric during the embroidery process, preventing puckering and ensuring a smooth finish. There are various types of stabilizers available, including cutaway, tearaway, and water-soluble, each serving different purposes and fabric types.
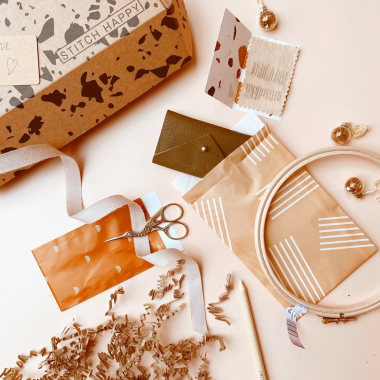
Step 3: Hooping the Fabric
Hooping is the process of securing the fabric and stabilizer in an embroidery hoop. The hoop holds the fabric taut and in place, allowing the embroidery machine to perform its task accurately. Proper hooping is essential to avoid any fabric movement that could lead to design distortion.
Step 4: Setting up the Embroidery Machine
With the design digitized and the fabric hooped, the next step is to set up the embroidery machine. This involves loading the digitized design into the machine, selecting the appropriate thread colors, and adjusting settings such as the speed and tension according to the fabric and design requirements.
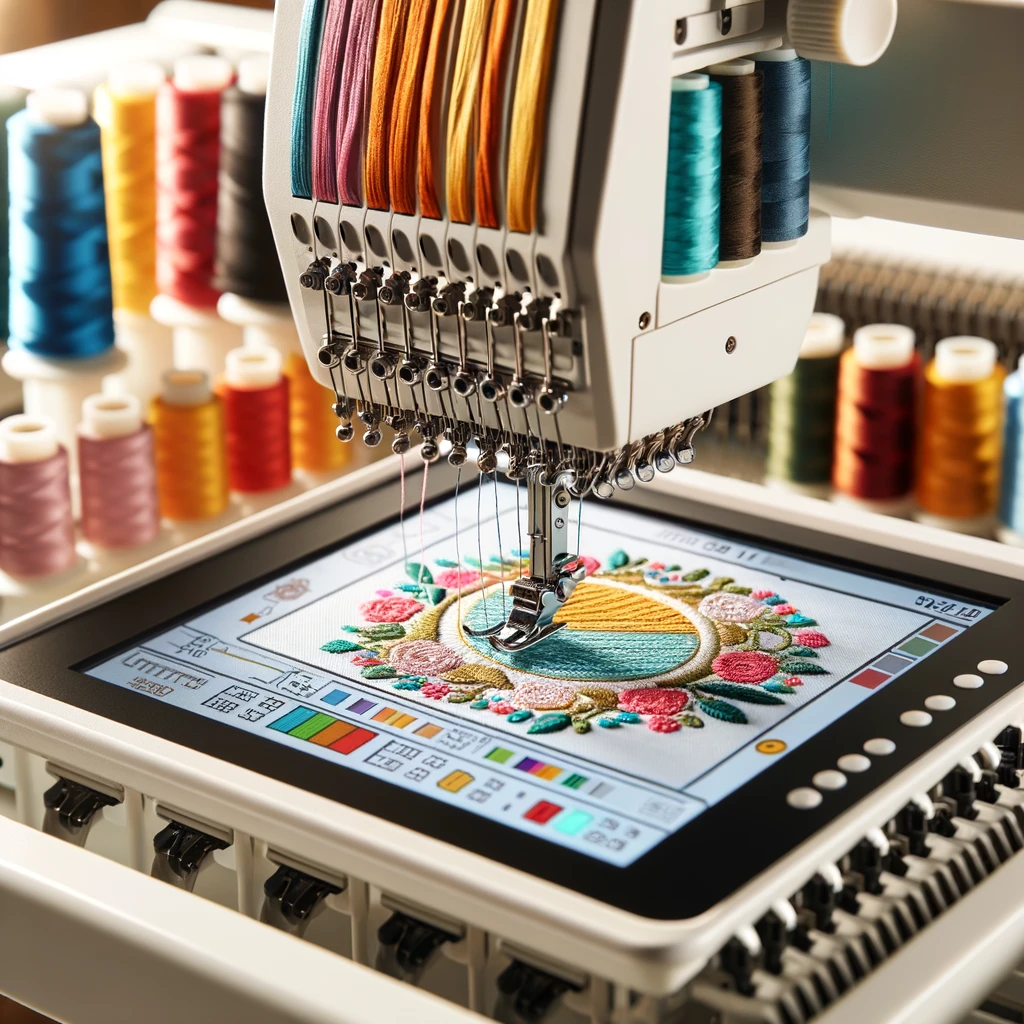
Step 5: Embroidery Execution
Once everything is set, the embroidery process begins. The machine follows the digitized design, creating the pattern on the fabric with precision. This step can be mesmerizing to watch as the machine swiftly moves the hoop under the needle, bringing the design to life.
Step 6: Finishing Touches
After the embroidery is complete, the fabric is removed from the hoop, and any excess stabilizer is trimmed away. For tearaway stabilizers, the excess is gently torn from around the embroidery. In the case of water-soluble stabilizers, it is dissolved with water. The final step involves pressing the embroidered item to give it a neat finish.
Conclusion
Machine embroidery is a blend of creativity and precision engineering, allowing for the embellishment of fabric with beautiful designs. From the initial design digitization to the final pressing, each step in the embroidery process is crucial for achieving a high-quality finished product. Whether for personal use, fashion, or corporate branding, machine embroidery offers endless possibilities to transform ordinary fabric into something extraordinary.